Recovering Deleted Data From Memory Cards
Published July 17th, 2017 by Brian Lipscomb

You’ve just returned from vacation and you’re ready to look at all the great pictures you took while there. The blue skies, sandy beaches and warm surf were all beautiful, and you can’t wait to share the experience with your friends.
But there’s a problem. When you take the SD card out of the camera and put it in your laptop, the laptop tells you it’s blank. “No that can’t be”, you think to yourself. So you pull the card out then put it back in, figuring maybe you inserted it incorrectly. Same deal. The card is empty. You put the card back in the camera. Still nothing. Now you’re close to panic.
 If this unfortunate event has happened to you, the good news is that there may be a way to recover those important photos.
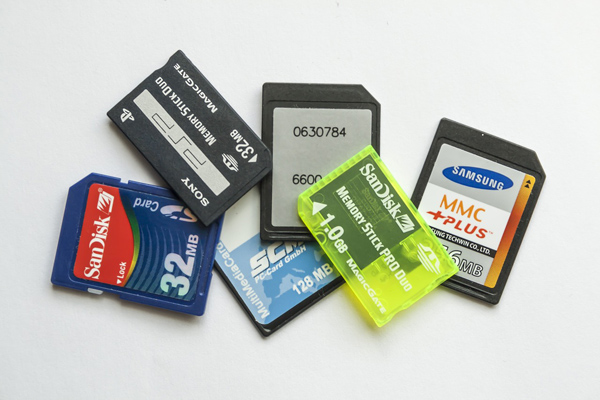
The great thing about SD (Secure Digital) cards is that to a Windows PC, they are just another hard drive, so they behave in the same way. It also means they have a dirty little secret: when you erase them, the data is often still there!
To understand how this works, let’s take a look at how SD cards and other drives store files. Hard drives, SD cards, iPods and other devices all divide their storage space into equal sized chunks called blocks. These blocks are neatly arranged when we first use a device, and the device or PC keeps track of those blocks by way of a large list called a File Allocation Table (FAT). You may have heard someone use the phrase FAT or FAT32 when talking about a hard drive, and the same idea applies to SD cards. The FAT is very much like a map of a city, with each block location the equivalent of an address. It makes it easy to keep track of where everything is stored so that when needed, the device knows just where to look. For example, the photo of your father doing a silly dance may be stored at block 13829. When you want to see that photo, your camera checks the FAT and sees that it needs to grab the information from block 13829 and show it to you.
Note that photos and other documents, depending on their size, can be spread across multiple blocks. In that case the FAT keeps track of all the blocks that make up the photo or document and will put the pieces together in the proper order when needed.
The dirty secret comes in when you delete a file. Let’s say you decide you don’t like that funny photo, and you delete it. It’s gone, right? Not necessarily. When you delete a file, most devices do not actually delete the data that makes up that file, but instead only mark the FAT so that the block containing the data is again available for use. In other words, the photo is still physically there, but as far as the device is concerned, the space it occupies can now be used to store something else.
The same rule holds true when you format an SD card. In that case, the FAT is simply replaced with a fresh one, which tells the device that all the blocks are available for use. However, the actual data that makes up the files that were stored on the card are still there. The exception to this rule is when you tell your device to perform a full format. A full format will overwrite each block with zeros or other random data, completely destroying the information that was stored there.
This is where recovery comes in. If you have not performed a full format on your card, you can often recover the photos, music and other files that were stored there using a recovery tool such as Recuva from Piriform. Tools such as Recuva will ignore the FAT and look directly at the data on the SD card to determine what is there and if it is indeed recoverable. Remember that because SD cards store information just like a hard drive, you can often recover not just photos, but music, documents and other files as well.
The amount of data that is recoverable will depend on how much you have done with the card before attempting the recovery. For example, if you have deleted ten photos, the FAT will show those ten blocks as being available. If you have since taken new photos, some of those new photos may be stored in the blocks that were previously occupied by the deleted photos. In that case the older photos cannot be recovered. It is for this reason that it’s important to not do anything further with an SD card as soon as you realize that you need to attempt a file recovery.
If the photo that was deleted was stored in multiple blocks, it may only be partially recoverable if a new photo overwrote one of those blocks.
The first step in recovering files from your SD card is running a full scan with Recuva. This scan will reveal most, if not all of the files that can be successfully recovered. When the scan is complete, you can select which files that you want to recover and copy those files to your hard drive or other location.
By default Recuva scans quickly to present you with the files that would be most easily be recovered from the card. If you prefer, there is an option in the program to perform a deeper scan in an attempt to find other files that may have been partially overwritten. This deep scan can also sometimes find data that may have been partially stored on physically damaged parts of the card.
Another feature is the ability to securely delete files. This is useful if you want to be sure that no one can get to the remnants of a file that you want completely gone. Use this feature with care as once you have securely deleted a file, it cannot be retrieved and is gone forever.
Once you have recovered your files from the SD card, it’s time to remember one more thing: backup, backup, backup!
References:


